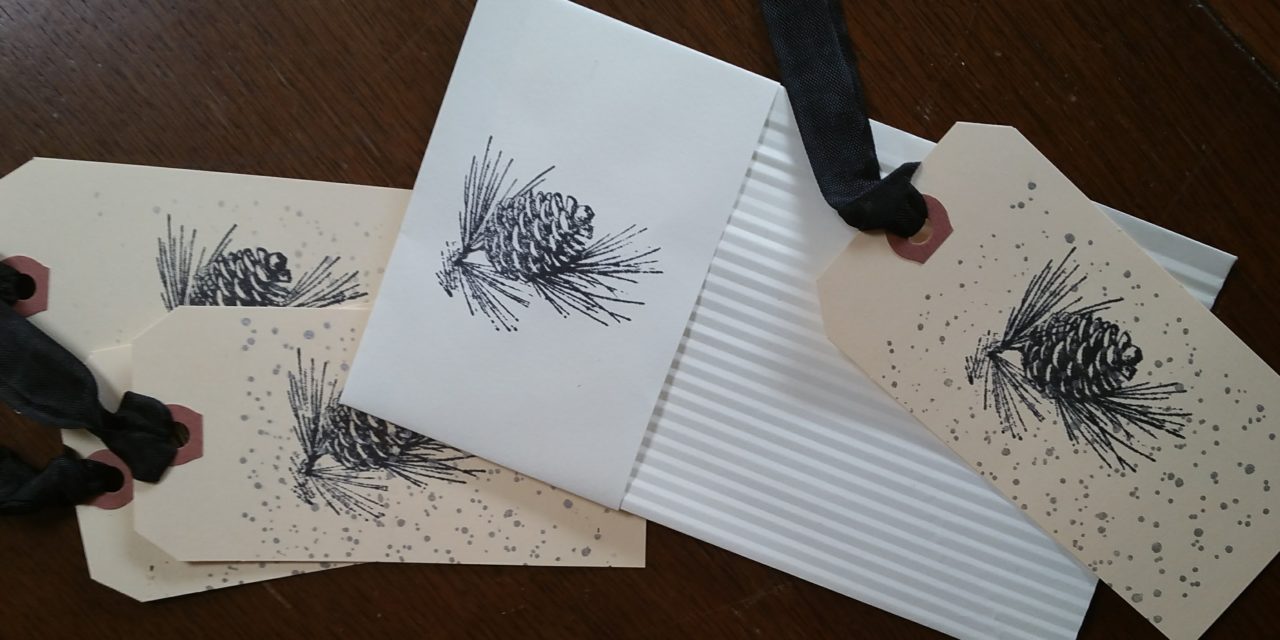
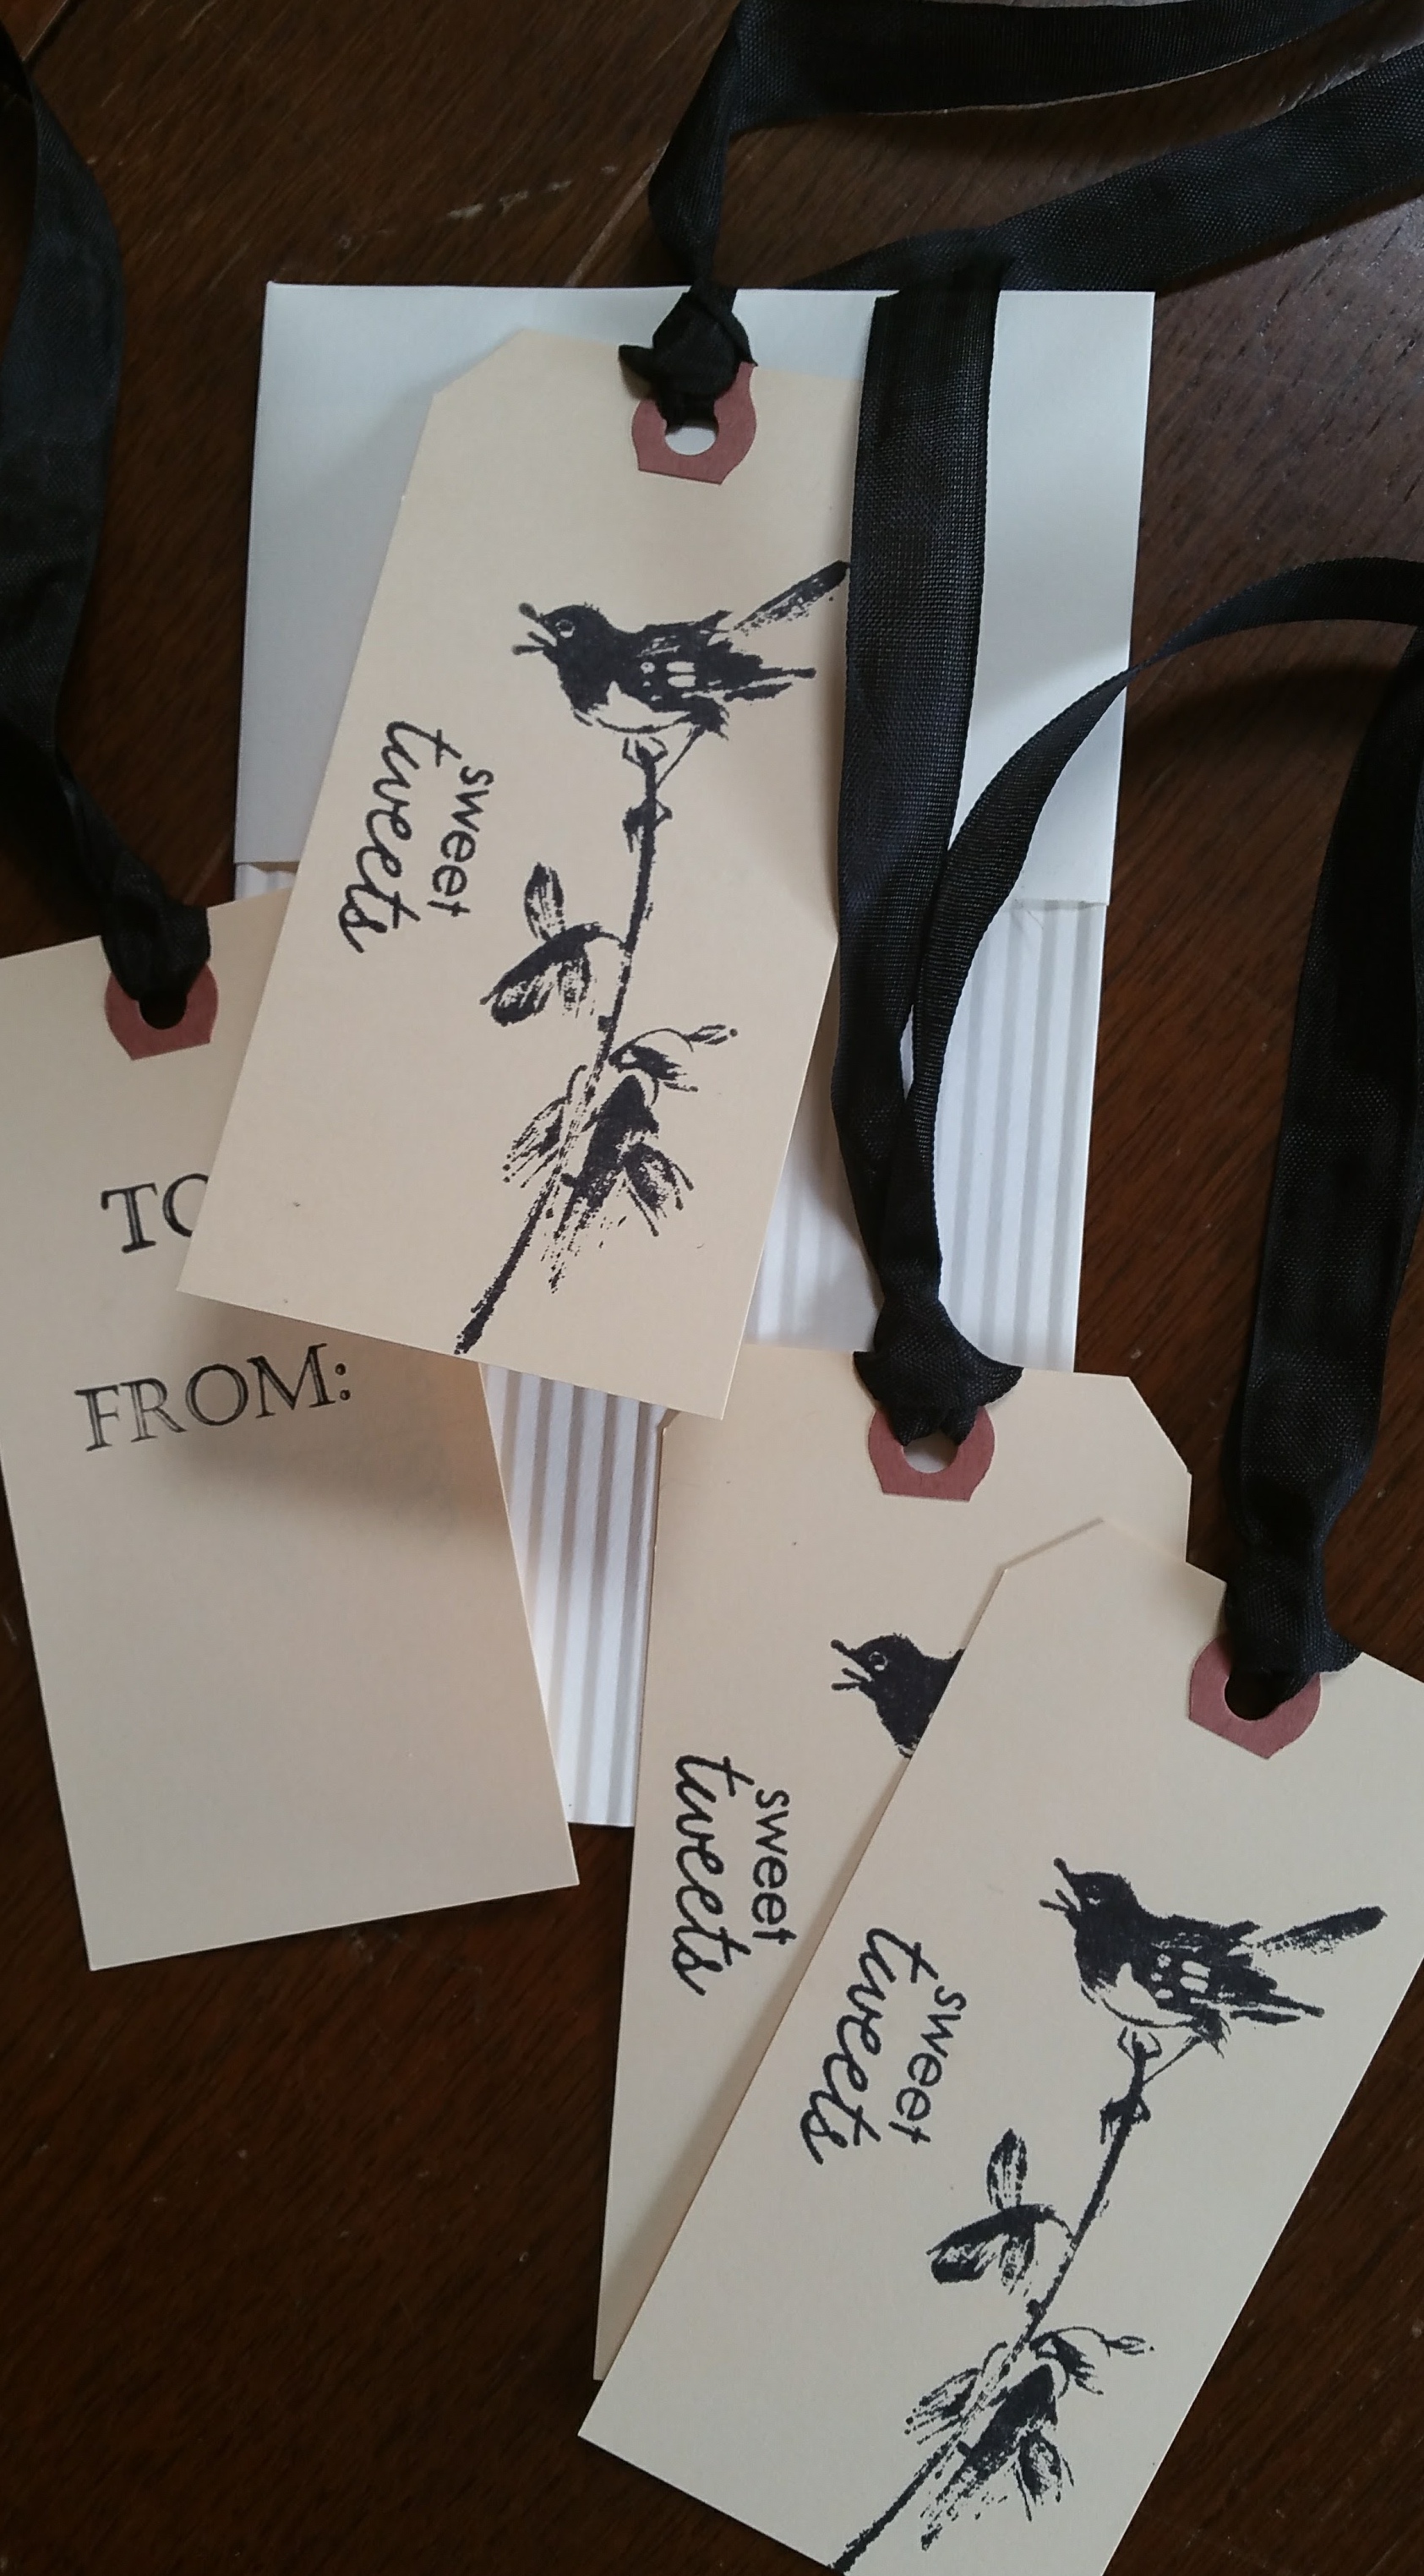
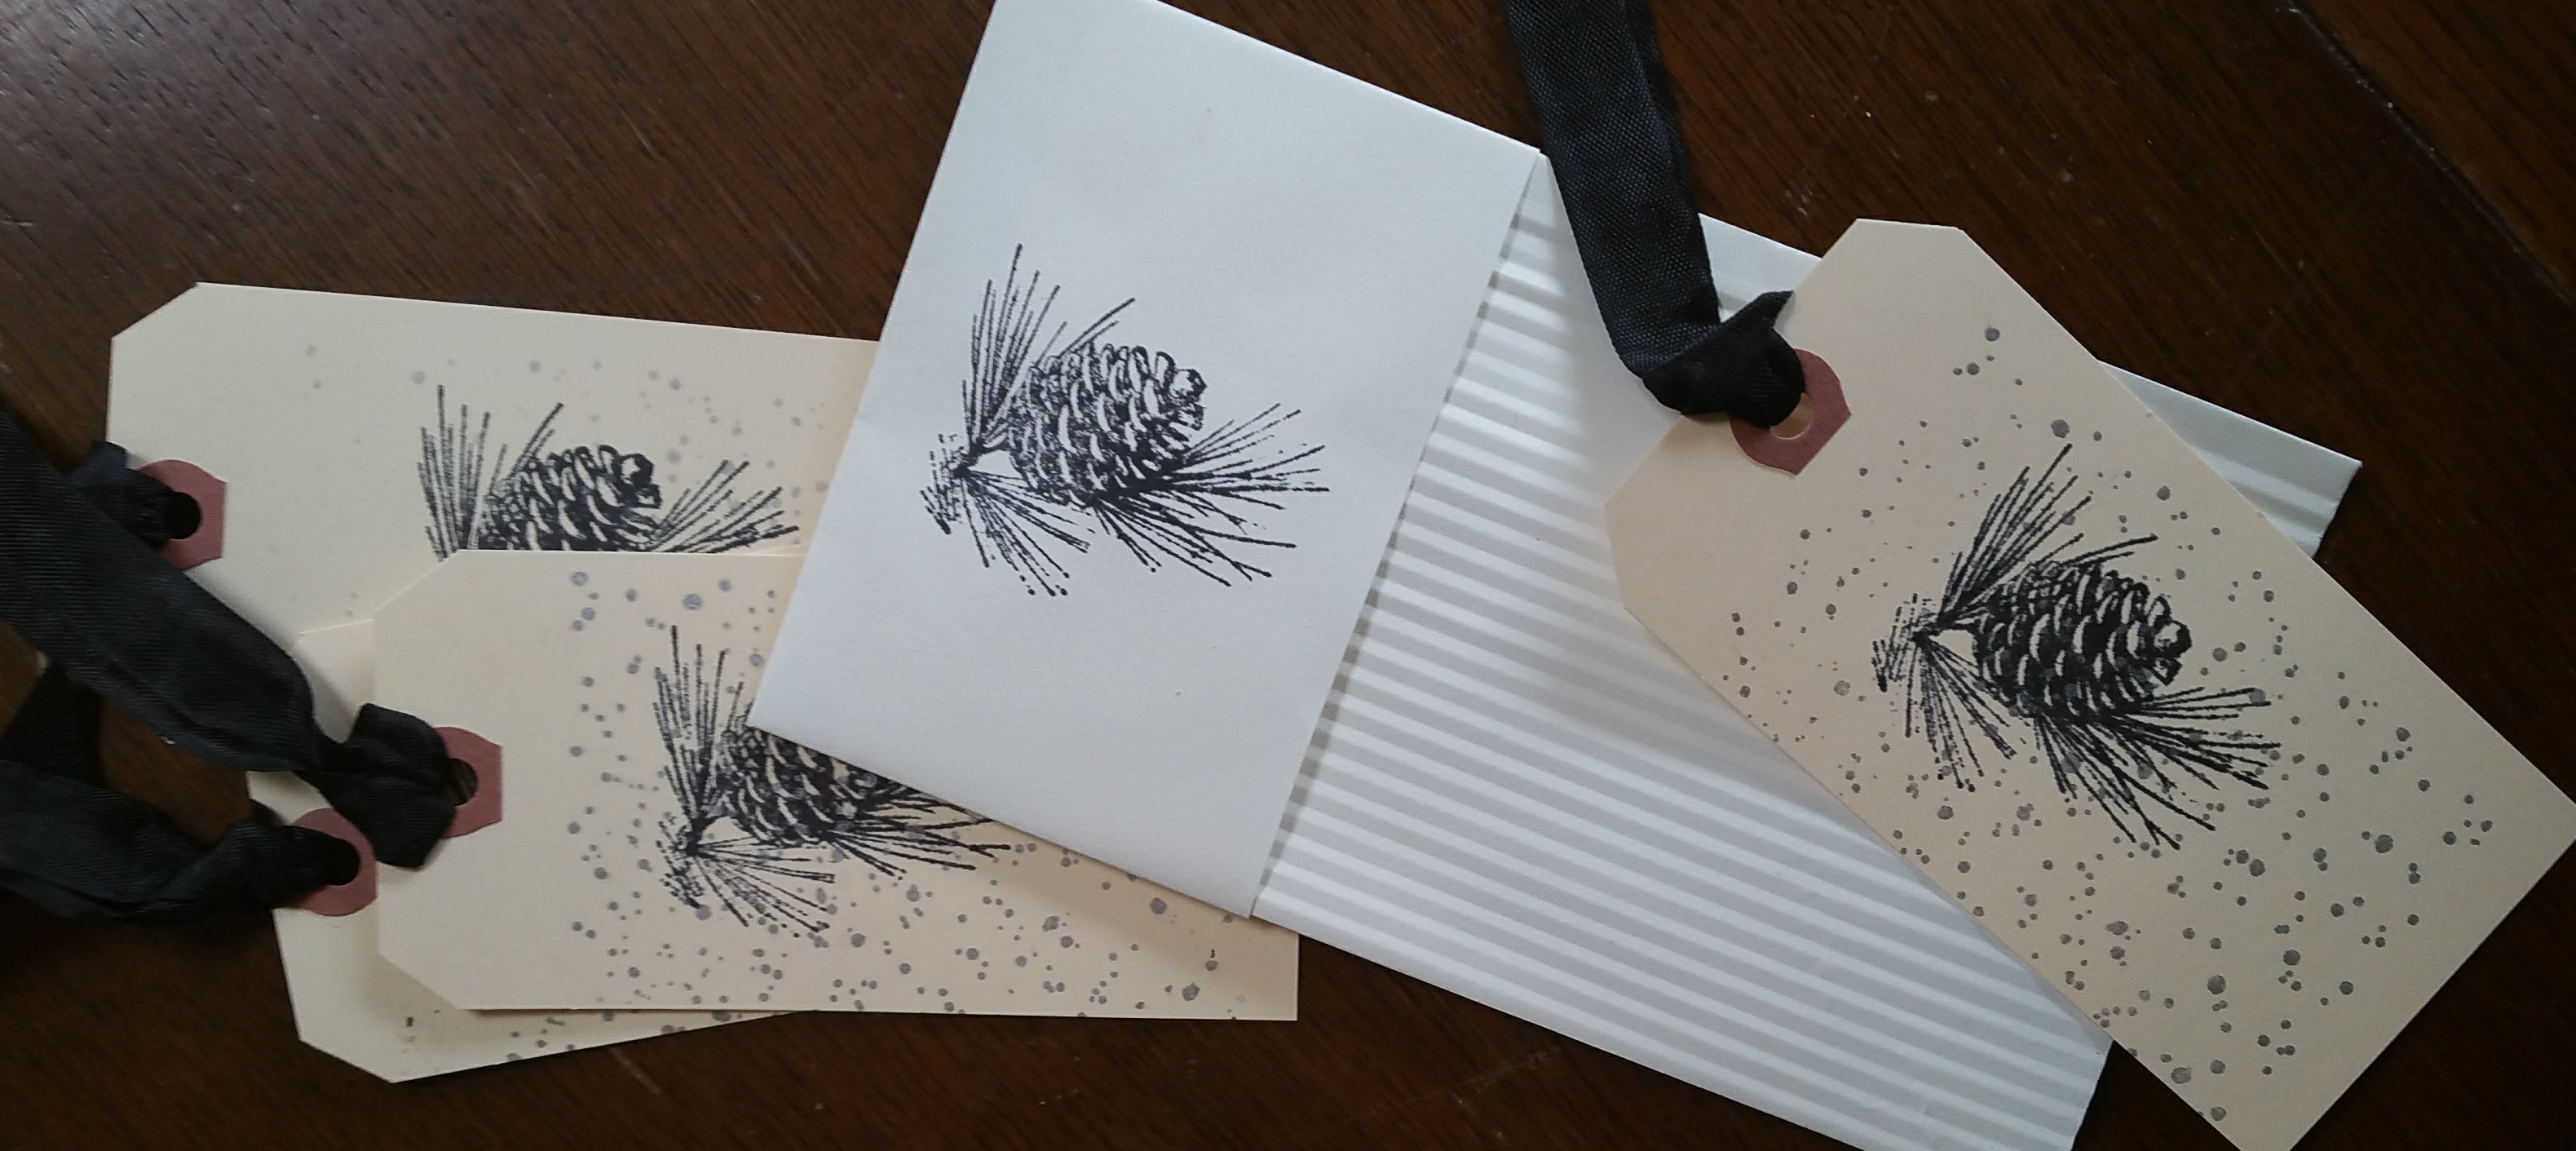
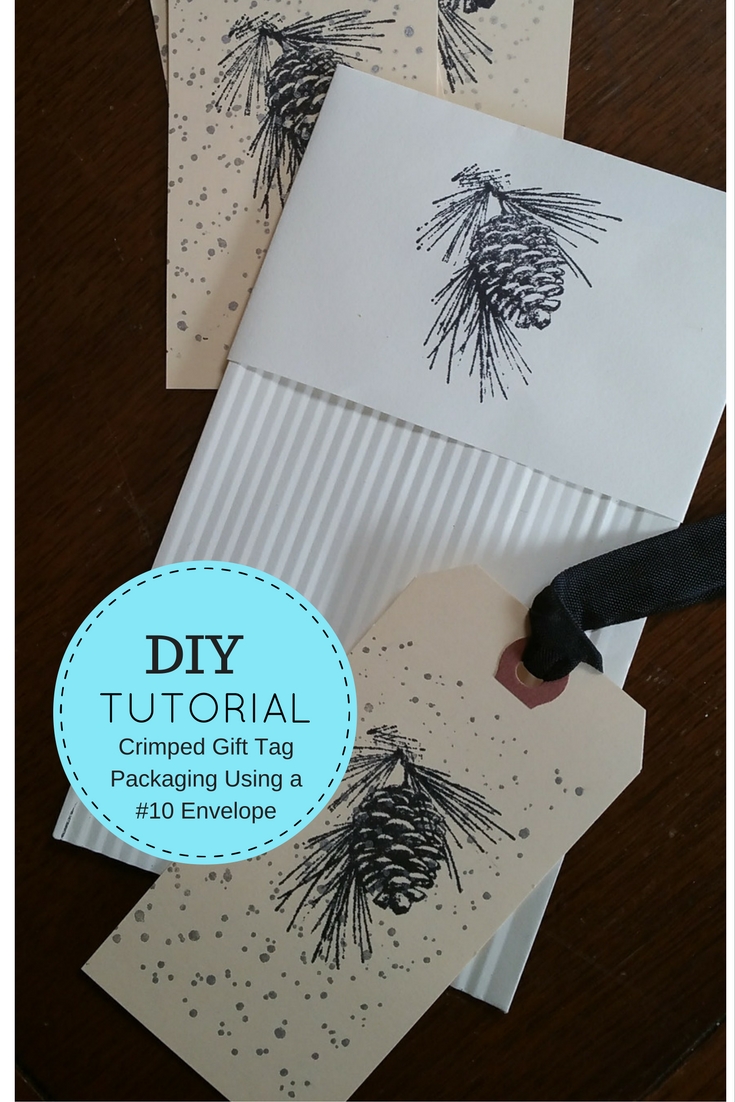
My friends and I can spend countless hours making gift tags. We will sometimes stamp, decoupage, punch and embellish them, or just apply one or two of the techniques.
But what to do with all the finished gift tags? Years ago Lani Freymiller taught us a way of making an envelope “package” by crimping a portion of the envelope. This has turned out to be the perfect packaging/presentation for the gift tags if you would like to give them as a hostess gift, or even to store the tags you’ve made for when you may need them to embellish a gift!
Crimped Envelope Packaging for Gift Tags
Supplies:
#10 envelope (4 1/8 in. x 9 1/2 in.)
Scissors
Rubber stamps, ink or various ephemera for embellishing
Directions:
Seal the flap of the envelope.
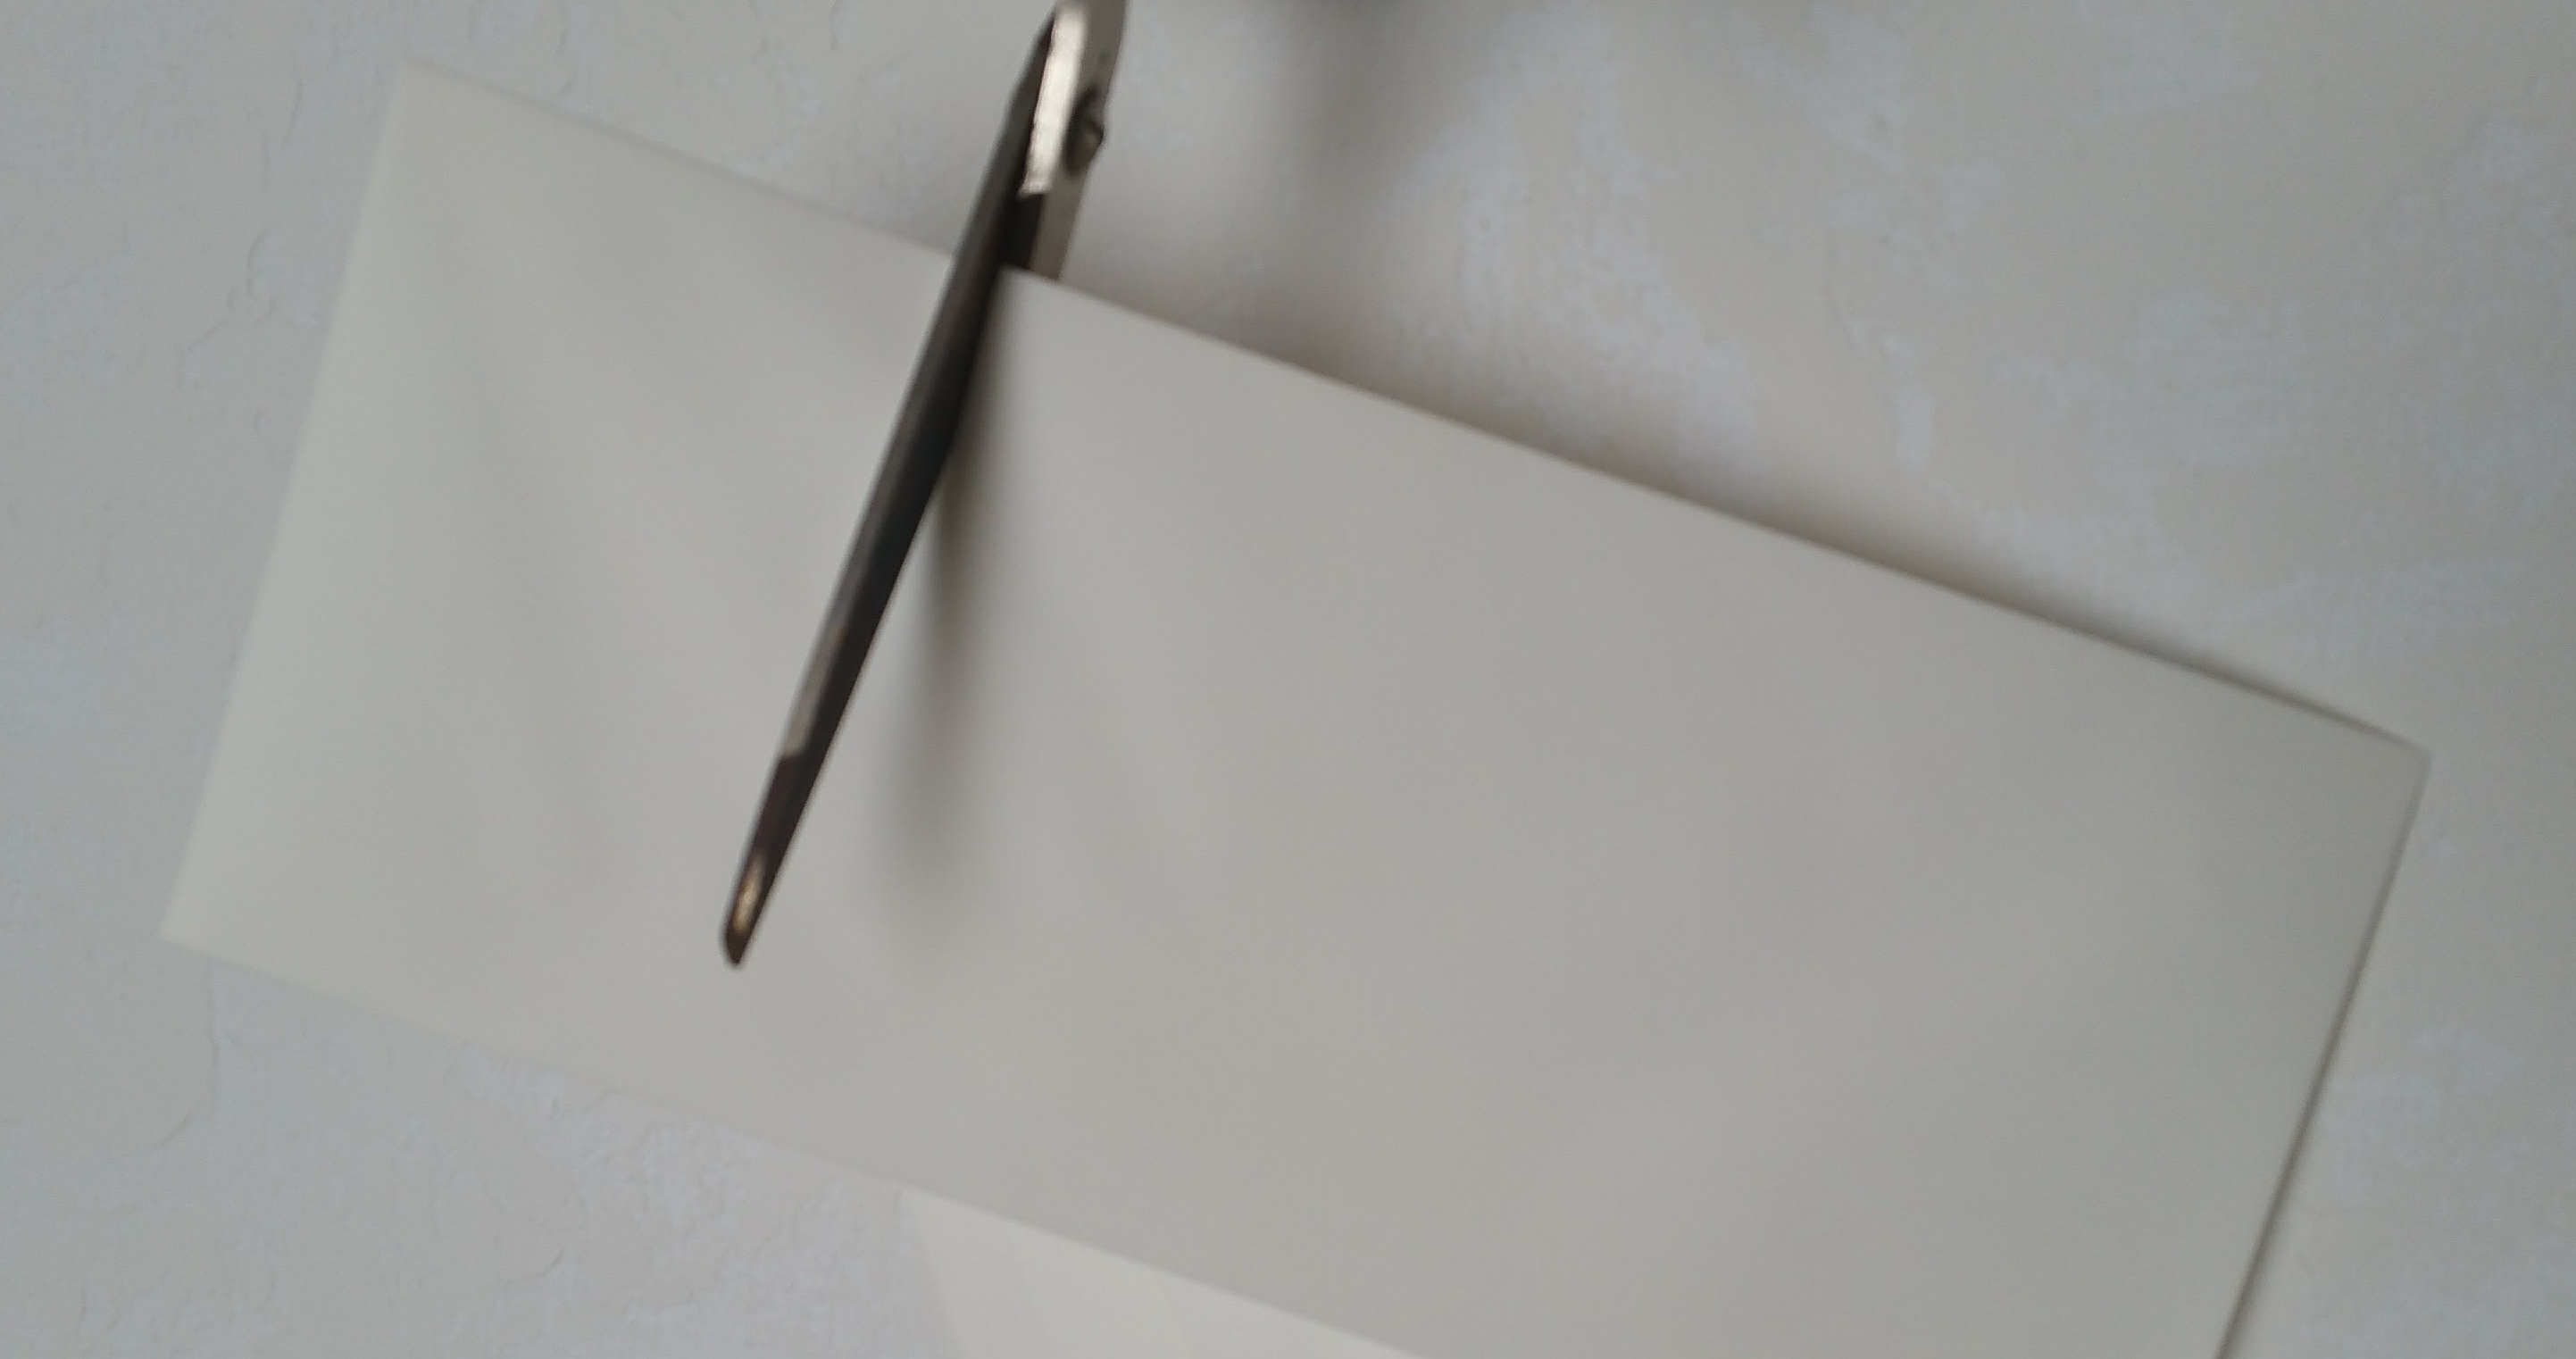
Cut off about 1/3 of the side of the envelope.
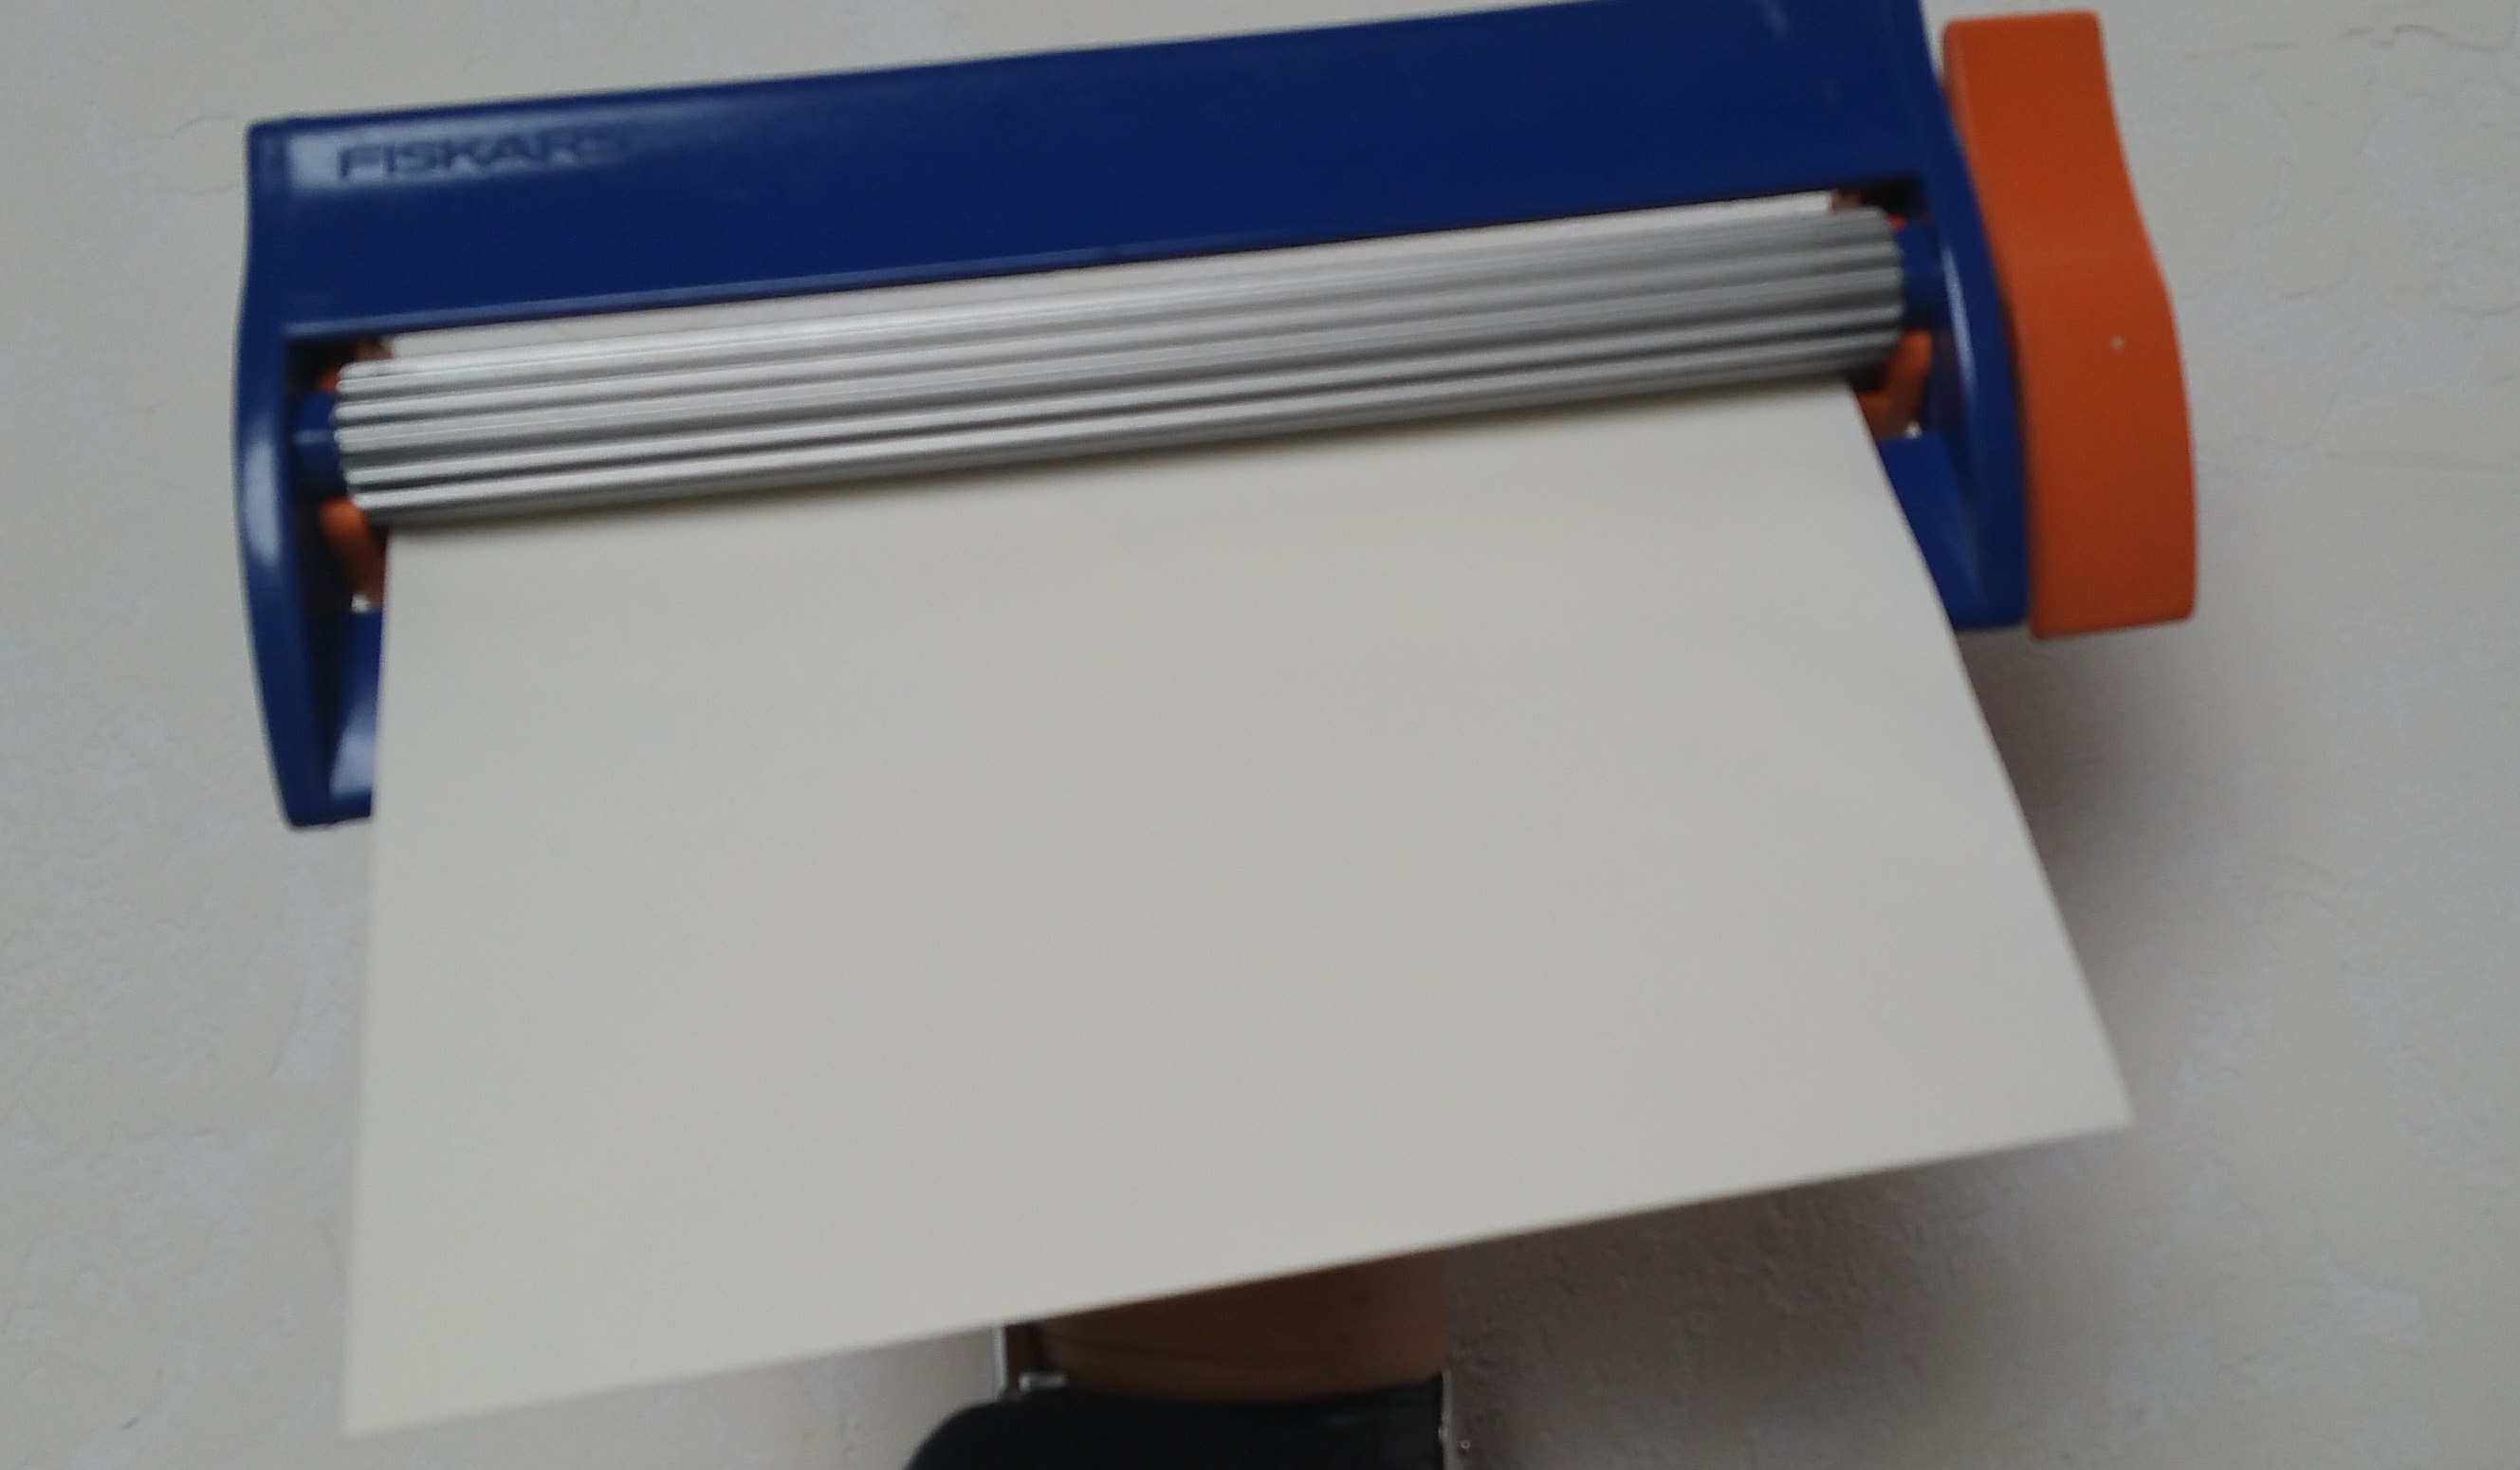
Take the longer side of the envelope and run through a crimper. When the long side of the envelope has been run through the crimper, it will allow that portion to neatly tuck into the short end of the envelope, creating a “package.”
You may embellish the short side of the envelope with paints, rubber stamps or anything else you would like that goes with your theme.
Notes:
Fill the crimped, long side of the envelope with your gifts tags or anything else you would like to package.
This process may be used with just about any size envelopes.
Voila! The perfect hostess gift or way to store your gift tags.
 I am Diane Uke (pronounced “you-kay”) and would like to welcome you to my new website and blog. This is where I get to share all my many and varied passions with you including my favorite DIY tutorials, recipes and lots of inspirational garden and travel photos! There is also a Shop for my mixed media paintings, prints, jewelry, and anything else I feel you may enjoy. Please stop by often as there will be regular updates.